How to make a perfect Thanksgiving turkey: Easy recipe to avoid dry meat
It's officially turkey lurkey time! Making your family the perfect turkey is the ultimate Thanksgiving treat, and with this recipe, you'll have the tastiest stuffing and the richest gravy around, so let's get cooking!
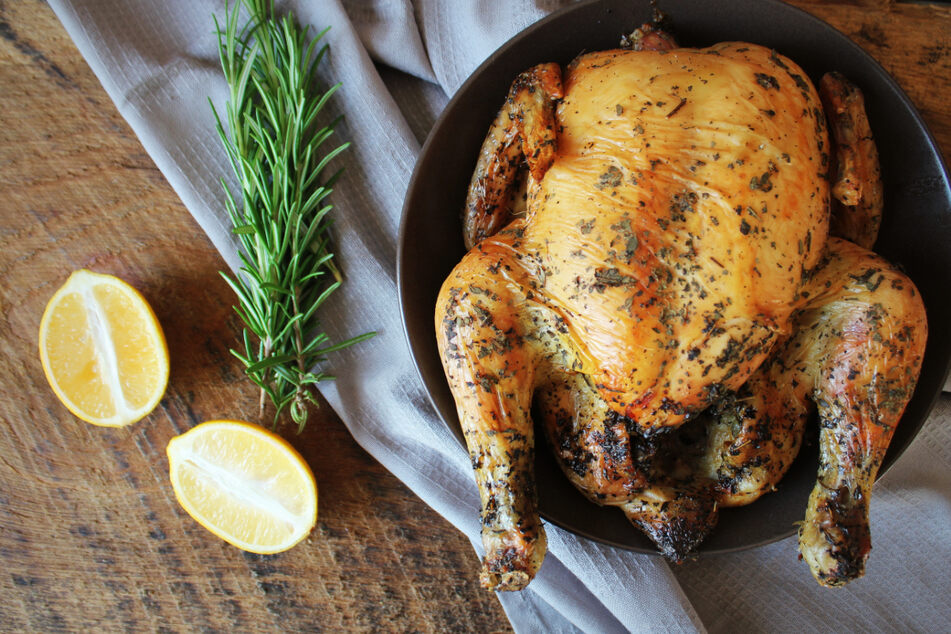
Thanksgiving is a time to be shared with friends and family, and what's better to be shared than a perfectly roasted and seasoned turkey?
Avoiding a dry bird and getting that perfect gravy can be a challenge, but that shouldn't scare you off from trying.
In this food guide, TAG24 will take you through how to make the perfect Thanksgiving turkey and how to keep it moist.
How do you make great stuffing, and how can you season it to perfection this year?
Let's get to it!
Why do we eat turkey on thanksgiving?
There are many myths that surround Thanksgiving, particularly around whether the Plymouth settlers really had all that much to do with it. The tradition of eating turkey as the main protein in a Thanksgiving meal is also contested, though there are a few plausible explanations.
In a 17th-century letter, a settler made reference to the consumption of fowl: "They four in one day killed as much fowl as, with a little help beside, served the company almost a week." Referring to a meal that could well be the iconic first Thanksgiving feast, the letter is rare in that it is one of very few that actually reference the consumption of poultry at Thanksgiving.
As a result, it is possible that the pilgrim settlers could have consumed turkey during the feast - as turkey as poultry would have been very common in the area – but there are very few historical documents to confirm this.
How to make a turkey for Thanksgiving | Recipe
There are three elements to making a great roast turkey on Thanksgiving: getting the temperature and cooking style right, seasoning it well, and getting the balance right between the stuffing and said seasoning.
You see, making a good turkey ain't that hard, but it is time-consuming – and can easily come out dry, overly salty, or somewhat tasteless. You can basically be last-minute with any other Thanksgiving dishes, besides the bird itself.
Here's what you're going to need for the cook:
- A roasting pan big enough for your bird
- An oven with a reliable temperature gage, pre-heated to 425°F
- A pair of tongs
- A sharp knife or scissors for carving
If you get the balance right, it isn't very labor-intensive to make a delicious Thanksgiving turkey, but you'll need to be careful.
Important: If you want to be able to make great gravy, make sure that the roasting pan you use has a detachable handle and can be put on the stove top after roasting.
Thanksgiving turkey recipe | Ingredients
Here's a broken down recipe for the ages. Keep in mind that when it comes to the seasoning and stuffing, you can substitute what we have suggested with your own preferences.
For the turkey itself:
- One whole turkey, to the size you desire and need
- Olive oil
- 2 knobs butter
- Salt
- Pepper
- Fresh rosemary
- 1 lemon
For the stuffing:
- Pitted dates, 4oz
- 1 pitted and grated apple
- Handful of parsley and sage
- Pancetta, 2oz
- Bread crumbs, 5oz
- Orange rind
For the gravy:
- Dry red wine or sherry, 1 cup
- Water or chicken stock, 1-2 cups
- Fresh rosemary
- Flour
For the fixings underneath the turkey:
- Selection of vegetables such as potatoes, carrots, onions, enough to cover the base of the roasting pan
- 4 cloves of garlic
Regarding the veggies: The ingredients chosen for your base roasting vegetables are not necessary if your roasting pan has a built-in rack, as the turkey will already be elevated off the base. If you do not use this added layer of veggies for cooking insurance, you can also stuff the cloves of garlic into the turkey for added flavor.
Thanksgiving turkey recipe | Instructions
In this recipe, we will assume that you have already pre-made your stuffing. Here are the instructions on how to cook your turkey. Begin by pre-heating your oven to 425°F. Then:
Step 1: Clean your turkey. To do this, run it under cold water and lightly rub with your hands to remove any sinew or stickiness. Make sure to thoroughly clean the insides and get rid of any blood that may still be floatin' around in there. Dab dry with paper towels.
Step 2: Prepare your tray of veggies. To do this, roughly chop up the vegetables you have chosen so that they are all roughly the same height and size. After covering the bottom of the roasting pan with baking paper, plop them all down there, tight together, so that they cover the entire bottom of the pan in a layer. Again, there is no need for this step if you have an in-built rack.
Step 3: It's time to season the bird! Use the advice we have provided below, but to be brief, make sure that the skin of your turkey in particular has been well seasoned with salt and pepper, and that the turkey has been stuffed with your pre-made stuffing. You will continue to baste and season as it bakes. Once stuffed, put the lemon inside, half up one end and half up the other, as well as the rosemary sprigs (and garlic if you choose).
Step 4: Place your bird over the layer of veggies you have prepared, or the rack that has been integrated into the pan. Make sure that the turkey skin is facing upwards.
Step 5: In a small saucepan, add and melt a knob of butter. Once it has been fully melted, add a teaspoon or two of olive oil. This will stop the butter from burning. Now add a tablespoon of paprika and mix thoroughly.
Step 6: Having made sure that the turkey is well seasoned, pour about half the mixture over your turkey, or until it's completely covered and glistening.
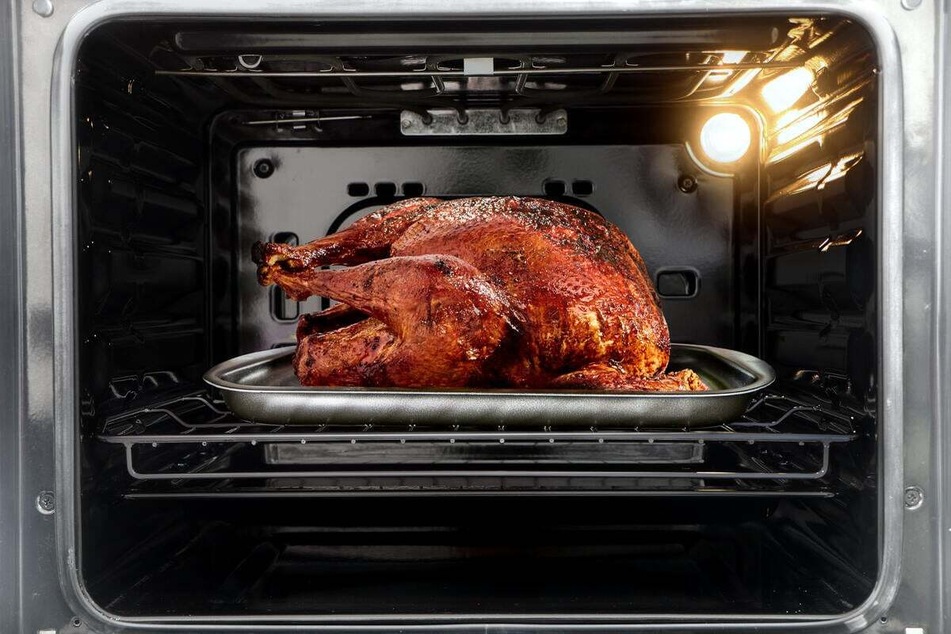
Step 7: Place turkey and pan in the oven, which you have pre-heated to 425°F for 15 minutes. Once these fifteen minutes have concluded, baste your turkey in more of the mixture you have prepared (remember to keep this topped up as you progress) and reduce the temperature to about 350°F.
Step 8: Depending on the weight of your bird, you will need to cook it for a different amount of time. If your turkey is around 10-15 pounds, it will only need about 1.5-2 hours of cooking time. If it is any heavier than this, it will likely need more like 2-3 hours. Alternatively, make sure that your turkey's internal temperature is, at minimum, 165°F before you remove it. Check its cooking thermometer.
Step 9: Throughout the entire baking process, continue to baste your turkey every 15 minutes. In the final fifteen minutes, feel free to increase the temperature again to 425°F if the turkey hasn't crisped up yet.
Step 10: Remove the turkey and allow it to cool for at least ten minutes before carving. In the meantime, prepare the gravy!
As you can see, it ain't very hard to make yourself a delicious Thanksgiving turkey, but it does take a gosh-darn while! Curious about stuffing and gravy? Read on.
How to make turkey stuffing
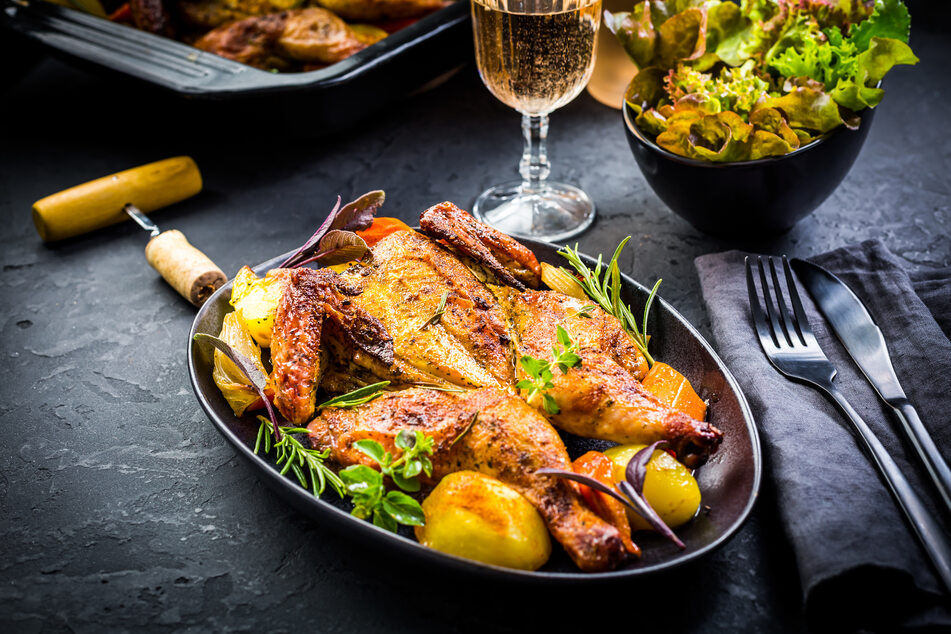
Turkey stuffing is a very person-specific thing. Some people like more "herb-y" stuffing that's perhaps a little heavy on the bread, others like to use things like cheese or just keep it simple with a few sprigs of rosemary and some halved lemons.
What's important, of course, is to match it with your turkey's seasoning. If you are going with something more herby and tangy, don't fill your stuffing with butter, and maybe avoid alcoholic seasonings. If you go with something fruity, be careful with the sweetness and try to get that salty-sweet balance right.
Here's how to make a great date and pancetta stuffing:
- Step 1: Lightly fry off the pancetta to release its natural oils and slightly crispen.
- Step 2: Add the bread crumbs and lightly toast in the pan with the pancetta. Do this until they are golden and slightly crunchy in texture.
- Step 3: Mix in the pitted dates and grated apple, and heat through so that the apple is soft, and the dates have released their flavor into the bread crumb mixture.
- Step 4: Remove from the heat and mix in your herbs and orange rind, to add a bit of freshness and the tang of citrus.
- Step 5: Stuff the turkey with your mixture as well as two lemon halves, one in both ends, and some sprigs of rosemary.
Again, remember that this is a very personal thing. You might not like this stuffing, and if so, use a different one!
Just remember: If you choose not to stuff your turkey, don't cook it for quite as long. Perhaps reduce it by fifteen-to-twenty minutes, or test its temperature more regularly. There is less mass if you go without the stuffing, so it will cook much faster and could potentially dry out, as it won't hold onto the moisture as well.
How to make Thanksgiving turkey gravy
If you've ever made a chicken before, then you're going to find this pretty similar. The main point here is that there are two main methods: with a layer of veggies and without.
On top of that, great Thanksgiving turkey gravy is also about your personal taste. Go with what you love!
Seeing as we used a layer of veggies for our initial turkey recipe, we will also do so here. Here's how to make Thanksgiving turkey gravy:
Step 1: Once you have removed the turkey from your oven and put it aside to cool, remove the baking paper while retaining all the turkey juices and vegetables in the pan.
Step 2: Cautiously transfer the juices and veggies into a saucepan. Use a soup spoon or ladle if it's helpful.
Step 3: Place the pan with the juices onto the stove top at medium heat and heat back up until the juices are boiling. Mix in the water or chicken stock, as well as your alcohol of choice and a few sprigs of rosemary.
Step 4: Continue to boil away until the alcohol has been cooked off and the vegetables are soft and falling apart, usually for about 10 minutes. Make sure to season with salt and pepper to taste, especially if you didn't use stock.
Step 5: Place a pot into the sink with a colander over the top. Drain the pan so that the liquids all go into the pot and all the solids get caught in the colander. You can use the solids and leftover veggies for a stew if you want, they'll taste really good and are ready to go.
Step 6: Place the pot of liquid back onto the stove top and heat until boiling. Get a whisk and slowly add flour to the sauce. Make sure that you are rigorously whisking so that you break up all the flour molecules while still allowing the sauce to thicken up.
Step 7: Add the flour only one teaspoon at a time, and continue until it's the consistency you want, remembering that once the sauce cools down it will become even thicker. Serve!
Without a layer of veggies: If you are not using a vegetable trivet, and instead have a rack built into your pan, you need to do this slightly differently. Simply chops up an onion and a couple cloves of garlic and add to the mixture of turkey juice, following the same steps but without the vegetables. You may want to think about other things you can add in for a little more flavor.
How to make your Thanksgiving turkey tender
If you buy a high-quality turkey and make sure to only cook it for the specified amount of time, it should come out nice and tender. There is no need to do much except to season it well with salt and baste generously with butter and/or oil to maintain its flavor and tenderness.
Is turkey supposed to be dry, and how do I keep it moist?
Turkey is supposed to be soft and moist, not dry and stringy. In much the same way as chicken, turkey is a rather delicate meat, that – while easy to cook – can easily become overly done and dry.
The most common reason for a roasted turkey to be dry is that you have either cooked it for too long, at too high a temperature, or baked it without stuffing. Now, some people don't like stuffing, so if you decide to avoid stuffing your turkey, make sure to cook it slowly at a lower temperature and with plenty of basting and an extra lemon inside.
Making the best juicy turkey for Thanksgiving
To be honest, turkey can often be dry and either far too salty or rather tasteless. The trick, in the end, is getting the roasting itself timed just right and seasoning the turkey itself to absolute perfection. It's not hard but requires patience and a basic understanding of the methods described here.
With this recipe, we hope we have sent you on your way to Thanksgiving turkey greatness. Stick to our instructions, and you will impress your friends and family this holiday season. Then, bring on the dessert!
Cover photo: IMAGO / Panthermedia


