How to cook rice perfectly every time, without a rice cooker
Does your rice keep turning out mushy, or does it keep sticking to the pot? Don't worry, the solution is simple, here's how to cook rice on the stove, without a rice cooker, quickly and easily.
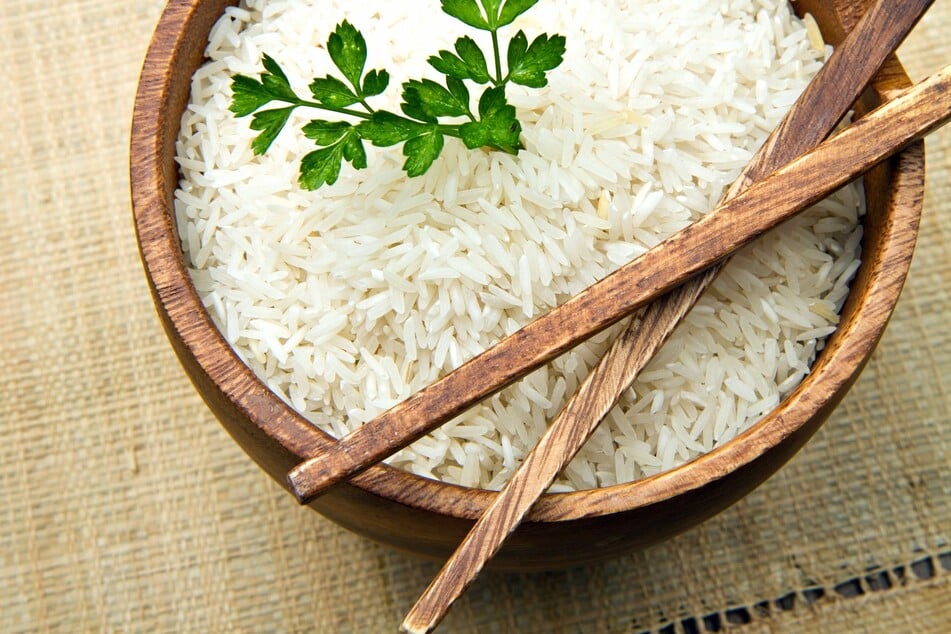
Rice is a staple of many forms of cooking, but many people have trouble getting it right.
Sometimes it is too mushy, sometimes it is still a bit crunchy, and often it will stick to the bottom of the pot, but don't get too concerned. If you don't want to get a rice cooker, there is a very simple solution to this problem.
In this food guide, TAG24 will take you through how to cook rice perfectly every single time.
There's no need for a rice cooker if you don't want one, let's show you how to get it right!
Do you need a rice cooker?
Rice cookers are an incredibly convenient, flavorful, and easy way to cook rice, but they are not necessary. These fantastic little devices help by cooking and maintaining the rice for you, keeping it warm once cooked, and being unbelievably easy to clean.
Of course, there are tricks to getting them to work (we'll cover that later), but for the most part a rice cooker is certainly the best way to cook rice. The thing is, though, that they are rather big and bulky, and while quite cheap, are not going to be something everyone wants clogging up their bench space.
For those of you who fit into such a category, a rice cooker is not necessary. You can cook perfect, fluffy rice, with simply a pot and some water. Let's get on with it!
How to cook rice on the stove
The key to cooking rice in a pot on the stove is twofold: Temperature control and proportions. We also have a little trick that we'll introduce you to, but have patience. Let's take you through the process step-by-step so that you can cook rice easy-peasy, lemon-squeezy.
Here's our fail-safe rice cooking recipe:
We'll break this down into the ingredients you will need and then the steps you need to take, just like a normal recipe.
Ingredients:
- Rice, 1 cup
- Water, 3 cups
- Pinch of salt
- Sliver of butter
Instructions:
- Step 1: The first thing you need to do is measure out your quantities. This is the most important decision you will make in this process - you need a rice to water ratio of 1:3. That means with 1 cup of rice you will need 3 cups of water, with 2 cups you'll need 6 of water, and so on.
How much rice per-person, though? Well, look, this very much depends on the size of the portion you're cooking. We would recommend about 4oz, or about 2/3 of a cup, per-person.
- Step 2: In a relatively large, heavy-bottomed pot, bring the water to a rolling boil. As it is heating up, lightly salt it and put the butter in, allowing to melt (if you use salted butter, there's no need for the salt).
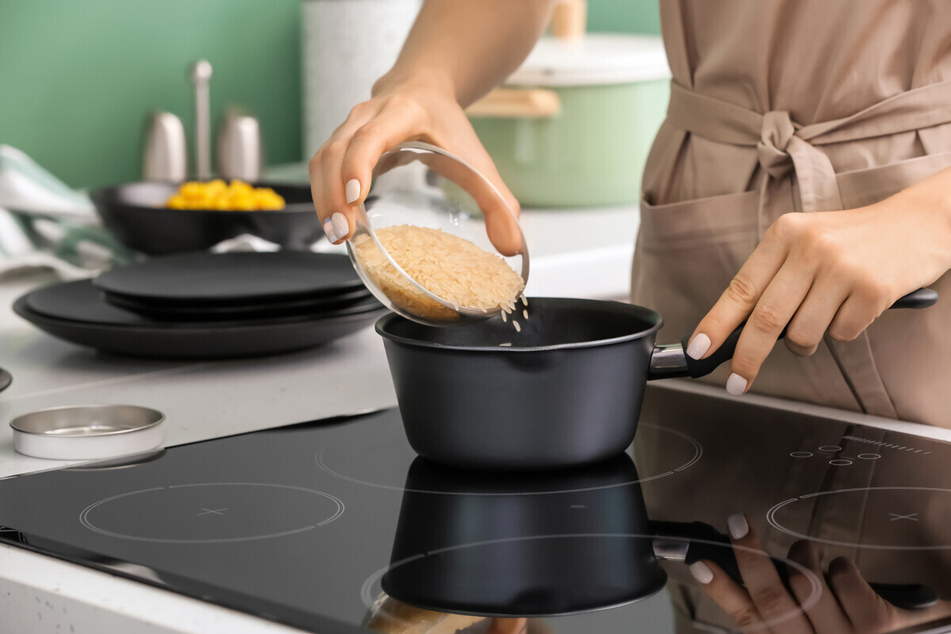
- Step 3: Once the water is at a rolling boil, immediately add the rice (so that the water doesn't evaporate too much). Make sure to have washed the rice beforehand.
- Step 4: Immediately turn the temperature down to a medium heat, so that it simmers but doesn't boil too fast.
- Step 5: Allow to simmer for exactly 15 minutes, without stirring, allowing the rice to cook and absorb all the water. You want it to be dry, with air pockets coming to the surface.
- Step 6: Once the rice is fully cooked and nicely fluffy (and all the water has evaporated), take it off the heat and serve.
Hot tip: If, after the 15 minutes, it still needs some time, give it that time. In the case that you haven't added enough water, pour a small amount evenly over the top.
How long to cook rice
The length of time you need to cook rice is generally always around 15 minutes if you follow the method we have described. In this case, the butter will coat the outside of the pot stopping any sticking (if you keep the temperature reduced), and this should allow all the water to evaporate and soak into the rice.
However, there are multiple types of rice and multiple ways to cook rice. Generally it will always take you around 15–25 minutes to cook, but brown rice will take significantly longer. We describe this process below, but brown rice will take you more like 45 minutes.
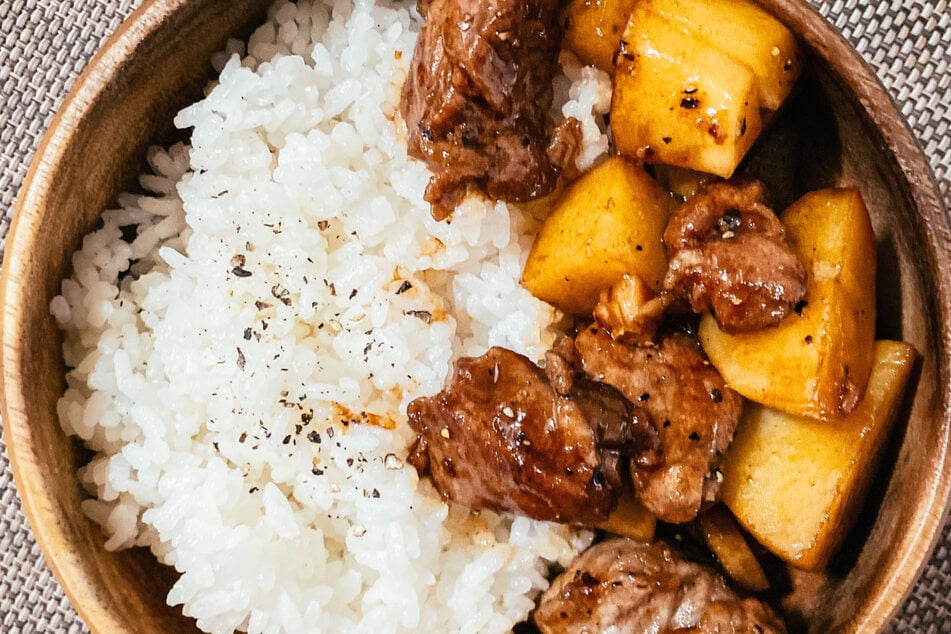
How to cook rice in a rice cooker
Of course, if you have a rice cooker, then this is the best way to prepare that starchy goodness. The rice cooker will basically steam your rice, giving it a bit of extra fluffiness and keeping it warm long after having finished cooking. It's also crazy easy to use!
When cooking rice in a rice cooker, complete these steps:
- Step 1: Measure out your rice and water in the same proportions as you used for the stove-top method.
- Step 2: Pre-wash your rice, if you want to.
- Step 3: Add the rice and water to the cooker and put the list on.
- Step 4: Switch the cooker on, using the relevant programming (it depends on the machine, so please check the instructions).
- Step 5: Once the rice cooker has finished cooking, it should detect that it's ready and will switch to its "warm" mode. When this happens, it will likely beep or might even play you a song.
- Step 6: Wait around 10 minutes with the lid on to allow the rice to steam and take up more of that moisture.
- Step 7: Test the rice and, if perfect, remove it and use it for whatever you are cooking.
Fun fact: Rice cookers aren't actually necessarily faster than using a pot on the stove. They will generally take longer to boil the water, and so the process will take longer.
Cooking different types of rice
The methods we've taken you through will work for most types of rice, including the ones we will cover here. That being said, there are a few key differences that are worth addressing. Let's take a look.
How to cook arborio rice
Arborio rice is the type of rice used to cook risotto, as it is a thick grain and takes on the flavor of what it's cooked in better. It is perfect for thick rice-based meals, and could even be used for rice pudding if you want! Avoid using it for more Asian-style cooking, but if you want to make a nice, creamy mushroom risotto, then this is the perfect choice.
How to cook brown rice
With brown rice it is best to add a little more water than with other rice types and simmer, covered, on a very low heat for about 45 minutes. After this, check whether there is any water left and, if there is, drain the rice. Once you have finished simmering and there is no more water, remove it from the head, put the lid back on and let it steam for 10 more minutes.
Should you wash rice?
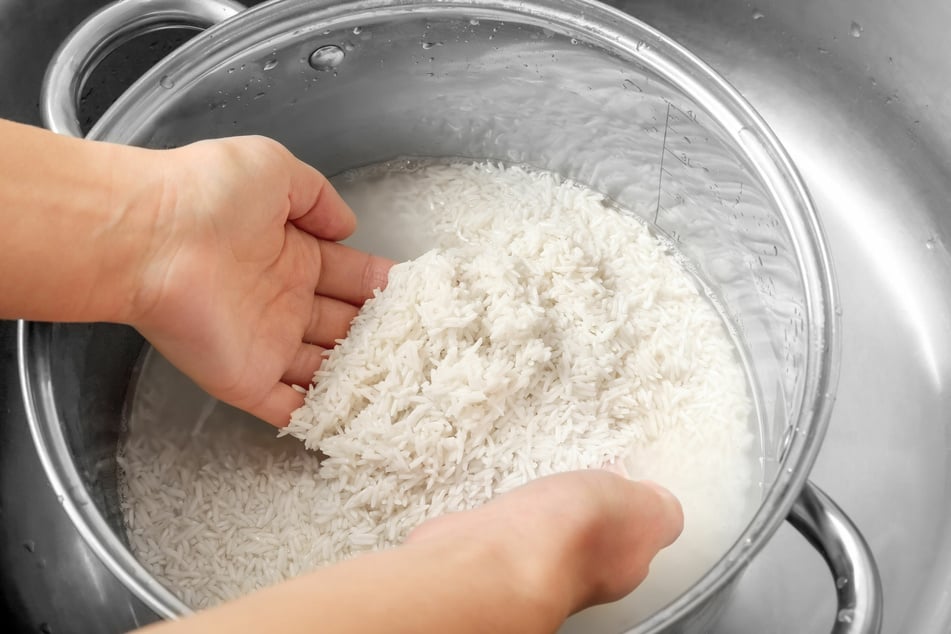
It is not entirely necessary to wash rice, but it does make a lot of sense and will help with the cooking process. Washing rice will remove excess starch, reducing mushiness and making it all less glutinous. This means that, if you wash rice, it will often come out a much nicer texture, especially if you aren't cooking it in a rice cooker.
Don't be afraid of cooking rice, it's easy!
If you don't have a rice cooker, it's very likely that you under-cooked or over-cooked rice from time to time. Then there's the common problem of rice sticking to the bottom of your pot. Have no fear, though, it's not as hard to get right as it seems!
With a nice, heavy bottomed pot, and the right ratio of rice to water, you will have little-to-no problem cooking rice. It takes a bit of practice, but trust us and give it a go. You won't regret it!
Cover photo: 123RF / lsantilli

